
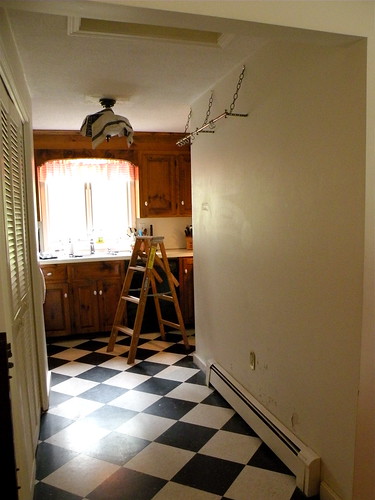
Okay, so the big kitchen remodel (and by big, I mean, lots of work, very DIY weekend warrior) began in earnest this weekend with the removal of the dreaded popcorn ceiling. So, we started where we all must, with clearing out the kitchen. As you can see, small, oddly shaped and not gorgeous.
 Here is the lovely popcorn. You should have seen the original light fixture. Oh. My. god. It was big, it was square, it was dark brown faux wood, it had 9 light bulbs hanging upside down off it. Could not be more ugly. Too bad I never took a photo of it! You can see its shadow lurking. I'll likely be keeping the existing fixture as I'm not sure I can swing a new one (or at least, one I'd want) at the moment.
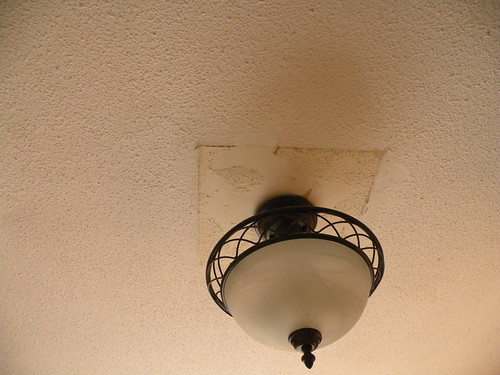
Since my building was built in the mid-80's, we decided to go with the belief that there is no asbestos in the popcorn (it was in these ceilings up till the late 70's). Unfortunately, the ceiling had been painted at some point, which makes removal of popcorn significantly harder. But, my very dear friend, and perpetual hero, Rob, took on the challenge and 8 short hours later (give or take lunch breaks and a trip to the hardware store), we have this masterpiece:
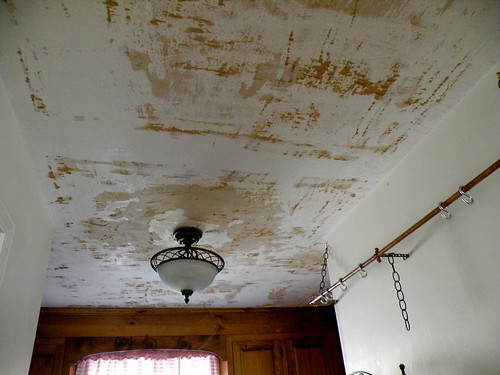
It's looking better, no? Yikes. My DIY copper pot rack is looking a little worse for wear as well. (Don't even ask about the dust!!)
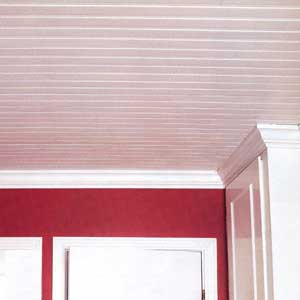
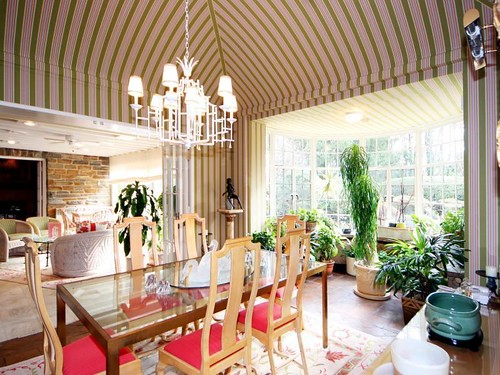
So, the current question is, will we be able to get this ceiling to the point to be able to paint it, or is that an impossibility and will we need to paper? Or, should I go with a bead board ceiling. My real hope is that I can do a beautiful painted ceiling in a pale green, with cream bead board walls and painted cabinets. Here's a roundup of photos I've gathered:
So, the current question is, will we be able to get this ceiling to the point to be able to paint it, or is that an impossibility and will we need to paper? Or, should I go with a bead board ceiling. My real hope is that I can do a beautiful painted ceiling in a pale green, with cream bead board walls and painted cabinets. Here's a roundup of photos I've gathered:
Painted Ceilings


So, this coming weekend, we're going to be applying a joint compound to the whole ceiling and sanding to see how smooth we can get it. Oh, and we're going to install recessed lighting at some point.
To be continued...


No comments:
Post a Comment